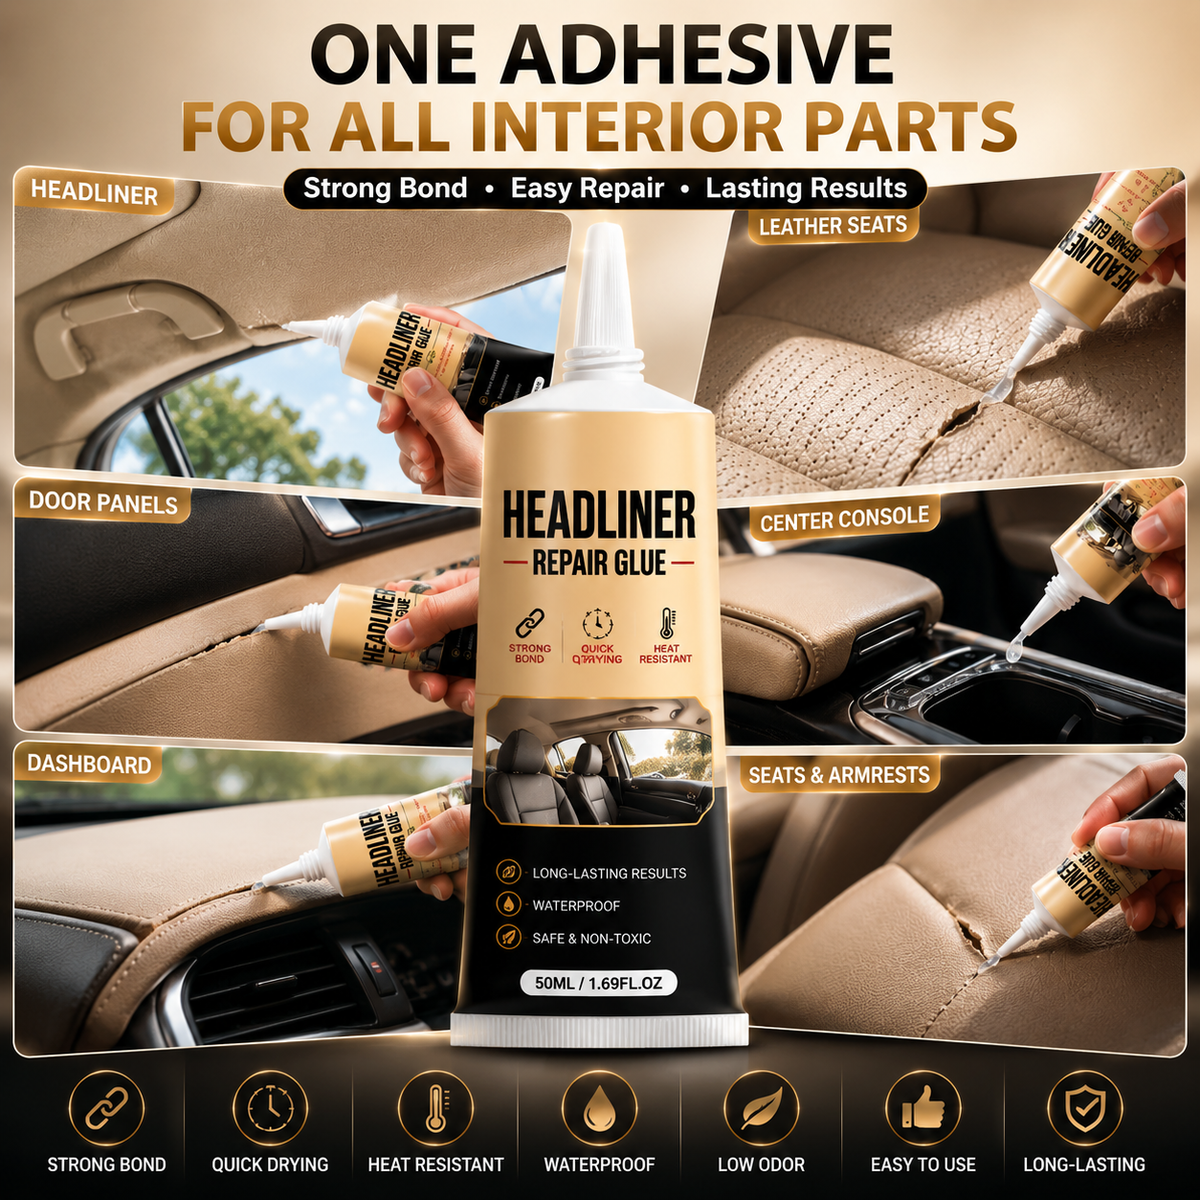
🚗 Waterproof Car Headliner Repair Glue
🚗 Waterproof Car Headliner Repair Glue
Regular price
$18.99
Regular price
$18.99
Sale price
$27.99
Unit price
per
Couldn't load pickup availability

🚗 Waterproof Car Headliner Repair Glue
Regular price
$18.99
Regular price
$18.99
Sale price
$27.99
Unit price
per
Restore a Sagging Headliner with Confidence 🚗
A precision automotive adhesive designed to secure loose cabin materials while preserving a clean, natural-looking finish.

A Practical Fix for a More Finished Cabin
Ideal for drivers who want to address a drooping roof lining, peeling interior seam, or loose trim without turning the repair into a major project.
Small interior repairs can make the whole cabin feel better cared for.
From Loose Material to a Secure Bond
Work carefully and give the adhesive sufficient time to reach its full cure.

-
Locate the Loose Area
Identify the headliner edge, leather seam, door trim, or sponge-backed section that needs to be reattached.
-
Guide the Tip Into Place
Position the precision tip at the repair point so the adhesive reaches the intended gap.
-
Bring the Surfaces Together
Apply the adhesive where needed, then hold the loose material in its proper position for the initial tack.
-
Allow a Full Cure
Leave the repair at room temperature for 24 hours before placing it under stress.
Four Details Behind the Repair
The formula and applicator are tailored to common challenges found inside vehicle cabins.

Polychloroprene Blend
The supplied formula uses polychloroprene and ethyl acetate to create its adhesive bond.
Fabric-Conscious Formula
It is designed to bond knitted automotive fabric without forming a hard, visible crust on the face.
Heat-Resistant After Curing
The fully cured adhesive is formulated for the high temperatures that can develop in parked vehicles.
Narrow Precision Nozzle
The applicator supports controlled placement in tight ceiling gaps and along interior seams.
Where It Can Help Inside the Cabin
Use it for localized reattachment across the supported automotive interior materials.
Secure Roof Lining
Tack a sagging or separating headliner back into position.
Reattach Leather Seams
Address peeling leather edges on interior seating where the material has separated.
Fix Loose Door Trim
Apply adhesive precisely where an interior door-panel edge needs to be secured.
Repair Features That Matter
Each feature helps manage a specific concern, from visible staining to hard-to-reach placement.
-
🫥
Clear Cure
The adhesive cures clear to help keep the repair visually discreet.
-
👃
Odorless Once Cured
At room temperature, the completed cure is described as odorless.
-
🪶
Maintains a Soft Feel
The no-seep formula is intended to preserve the natural feel of the attached fabric.
-
🛠️
Strong Initial Tack
Fast initial grip reduces how long the material must be held before the full curing period.
Two Repairs Worth Tackling
Handle localized separation before it becomes a larger distraction inside the vehicle.
A Headliner Near the Rearview Mirror
Use the narrow tip to reach a drooping roof-liner edge that interferes with a clear, tidy view.
A Peeling Driver-Seat Seam
Direct the adhesive beneath a separated leather edge and secure it back into place.
Three Practical Ownership Contexts
A sensible addition wherever small automotive interior repairs are handled.
The Home Tool Kit
Keep it with other hands-on vehicle-care supplies for localized cabin repairs.
The Garage Shelf
Store it with detailing and maintenance items until loose interior material needs attention.
The DIY Car-Care Setup
Choose it when you prefer to handle supported headliner, seat-seam, and trim repairs yourself.
Two Useful Buying Lenses
Start with the material and placement of the loose area you want to secure.
Soft, Sponge-Backed Areas
Consider it for knitted headliner fabric or sponge padding that needs controlled reattachment.
Edges and Tight Gaps
Consider it for peeling leather seams or interior trim where precise nozzle access is important.
For Focused Interior Upkeep
Best matched to drivers addressing the supported materials and repair locations.
Hands-On Vehicle Owners
For people comfortable completing a small, targeted cabin repair themselves.
Drivers in Hot Weather
For vehicles whose interiors regularly experience elevated temperatures while parked.
Owners with Sagging Headliners
For localized roof fabric and sponge-backed areas that have begun to separate.
Cabin-Care Enthusiasts
For anyone maintaining loose leather seams or interior door trim alongside routine vehicle care.
Key Details at a Glance
Volume50 ml
Formula BasePolychloroprene and ethyl acetate blend
Supported MaterialsKnitted fabric, sponge padding, leather seams, and interior door trim
ApplicatorPrecision no-seep tip for targeted placement
Cured AppearanceClear
Full Cure GuidanceAllow 24 hours at room temperature before stressing the repair
Frequently Asked Questions
Will it stain a light-colored headliner?
The formula is designed not to seep through automotive fabric and cures clear, helping prevent hard, dark surface marks.
How long does it take to cure?
It offers a fast initial tack, but the repair should remain unstressed for a full 24 hours at room temperature.
Can the bond handle summer cabin heat?
Yes. Once fully cured, the formula is designed to withstand the high temperatures inside a parked vehicle.
Can it be used on leather seats?
Yes. The supplied uses include reattaching peeling leather seams in automotive interiors.
Is it suitable for interior door trim?
Yes. Loose interior door trim is one of the supported repair applications.
Does the cured adhesive have an odor?
The adhesive is described as odorless after curing at room temperature.
Handle the Loose Edge Before It Spreads
Use the precision applicator to restore supported headliner fabric, leather seams, sponge padding, or door trim with a clear, heat-resistant cured bond.
Start Your RepairAllow 24 hours at room temperature for a complete cure before stressing the bonded area.